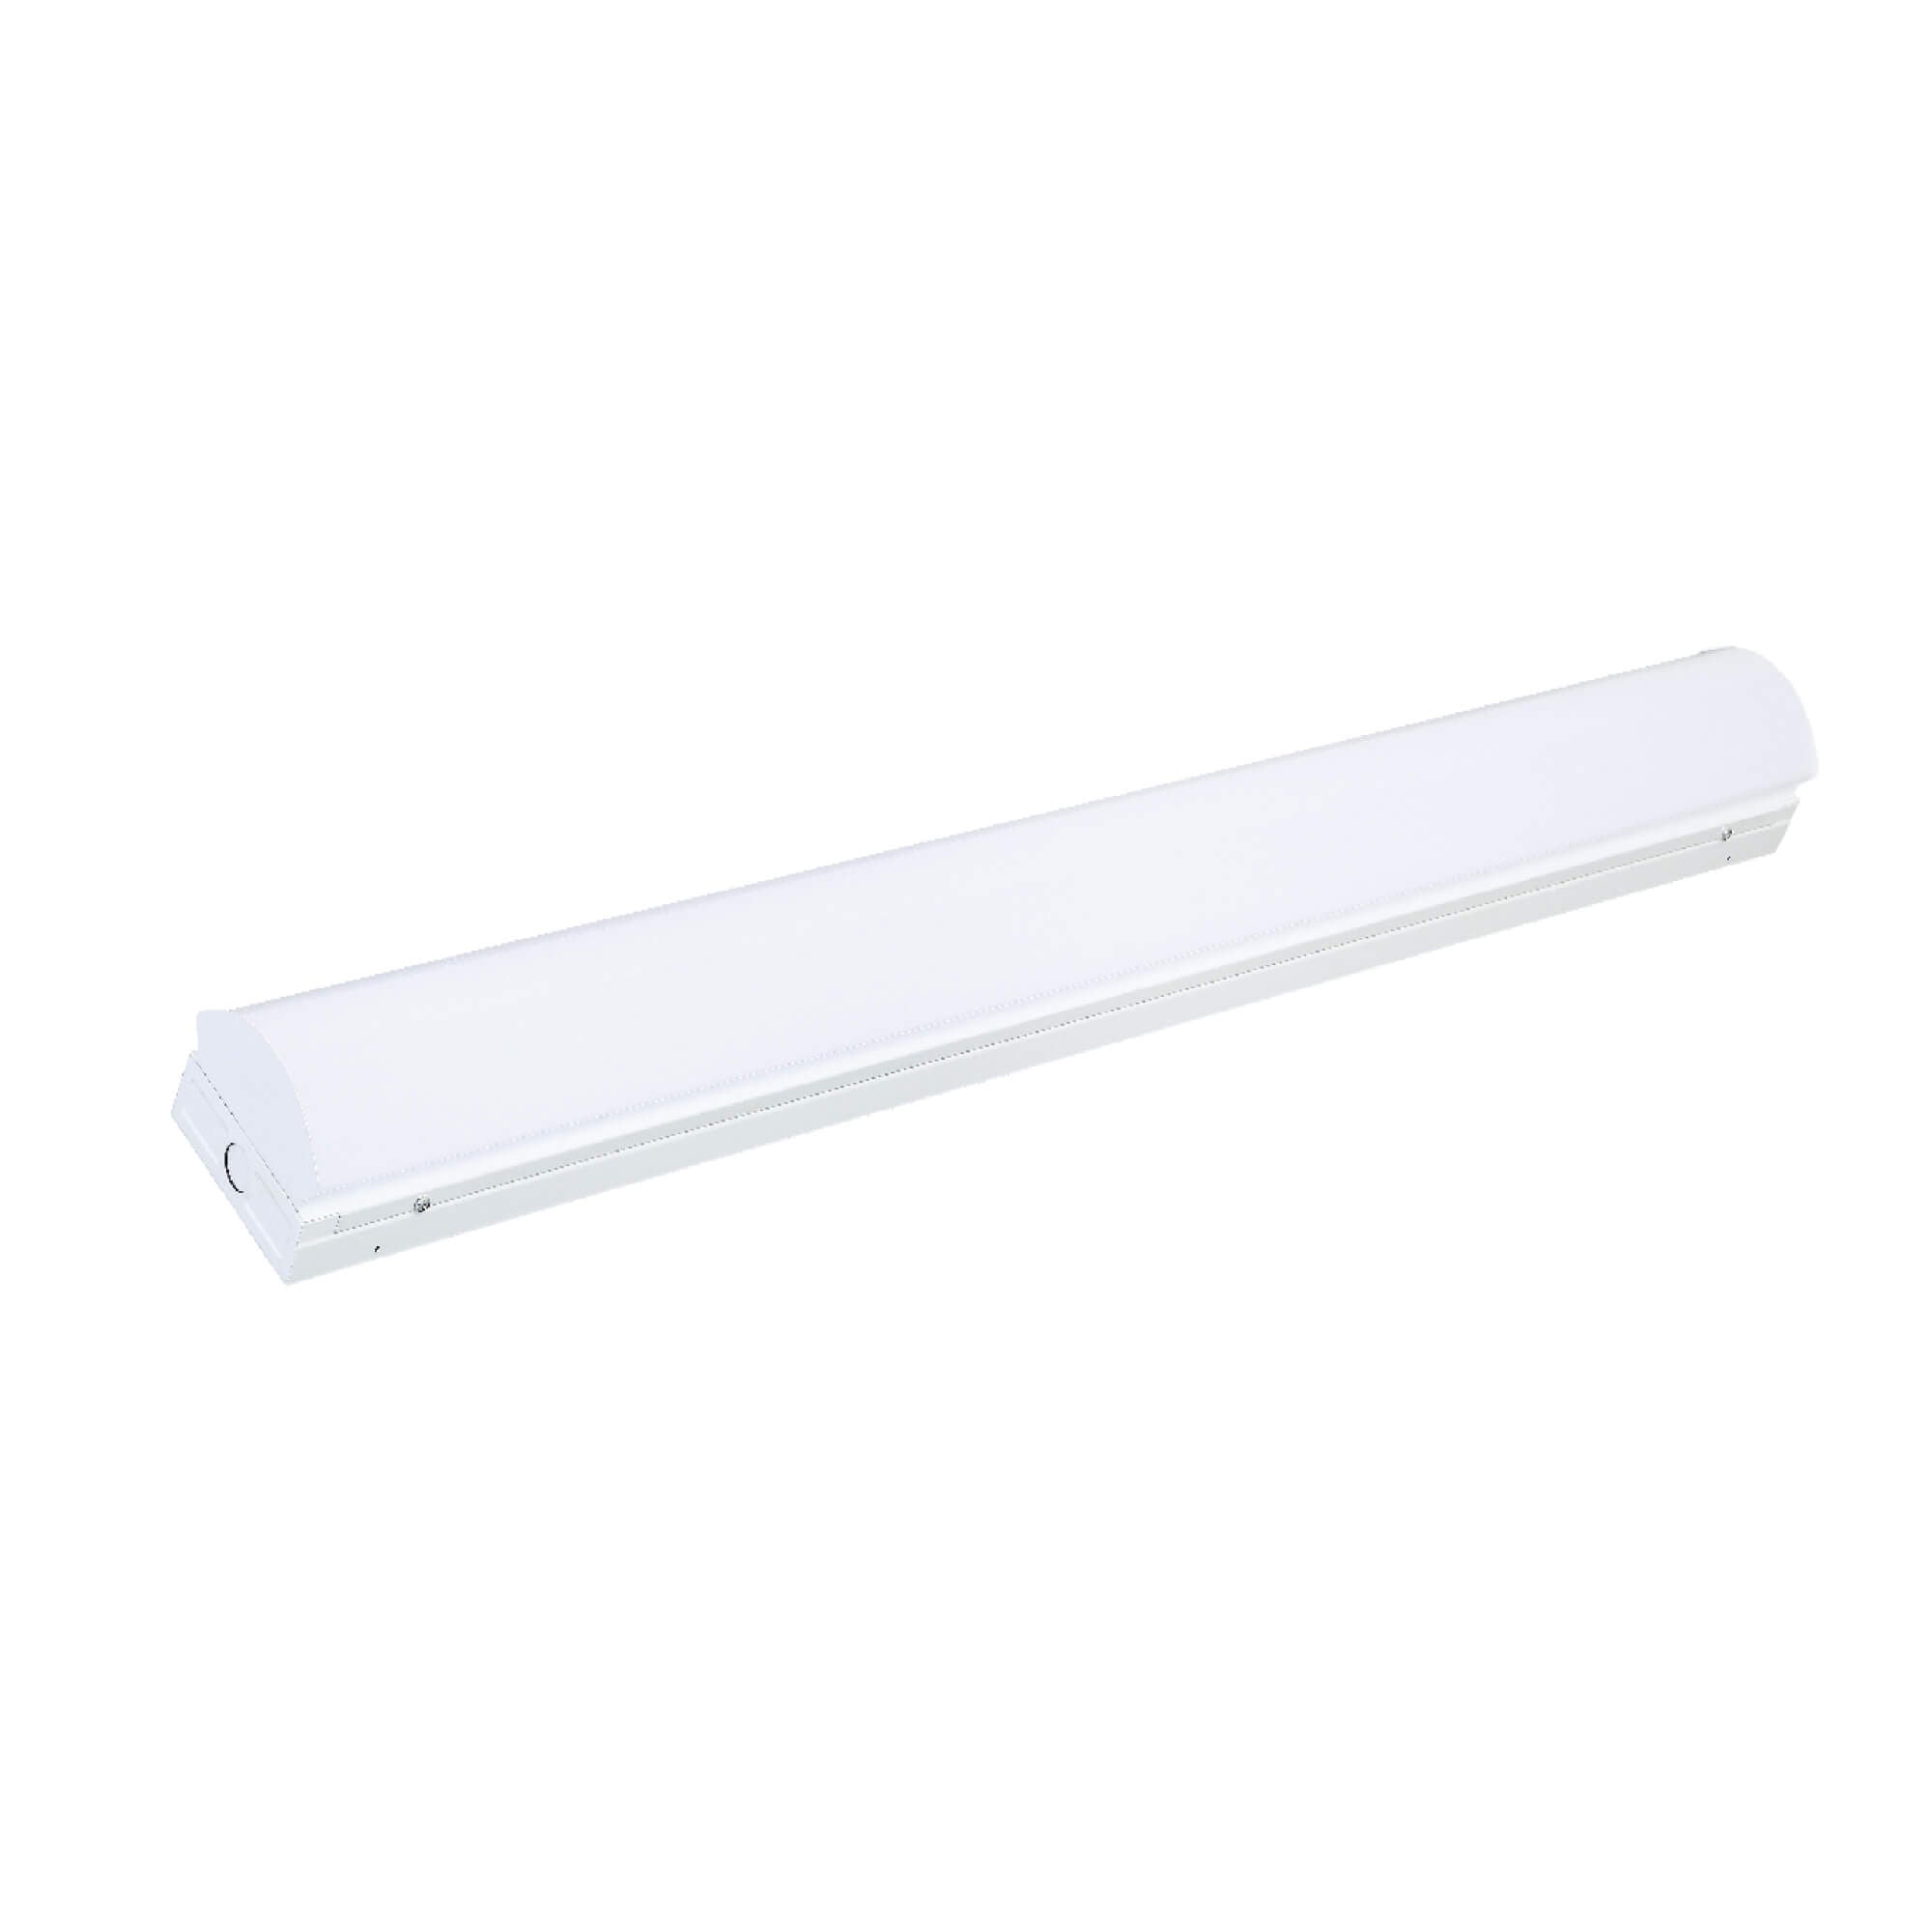
LED strip lights have become increasingly popular for their versatility and energy efficiency. Whether you are looking to enhance your home decor or create a unique ambiance, understanding how to properly install these lights is essential. This guide will provide you with detailed insights into LED strip lights, ensuring a successful installation.

Understanding LED Strip Lights
LED strip lights are flexible circuit boards populated with light-emitting diodes (LEDs). They come in various colors, brightness levels, and lengths, making them suitable for a wide range of applications. From under-cabinet lighting to accentuating architectural features, the possibilities are endless. But what should you consider before installation?
Choosing the Right Type of LED Strip Lights
When selecting LED strip lights, consider the following factors:
- Brightness: Measured in lumens, ensure the brightness level fits your intended use.
- Color Temperature: Choose between warm white, cool white, or RGB options based on your desired ambiance.
- Adhesive Quality: A strong adhesive backing is crucial for a secure installation.
- Water Resistance: If using in damp areas, opt for waterproof options.
Preparing for Installation
Before diving into the installation process, preparation is key. Gather the necessary tools, including a measuring tape, scissors, and a power supply. Additionally, ensure the surface where you will install the LED strip lights is clean and dry. This will help the adhesive stick better and ensure longevity.
Installation Steps for LED Strip Lights
Now that you have everything ready, let’s explore the installation process:
- Measure and Cut: Measure the area where you want to install the lights. Cut the strip at designated points to fit your space.
- Attach the Strip: Peel off the adhesive backing and press the strip firmly onto the surface.
- Connect to Power: Use the appropriate power supply to connect your LED strip lights. Ensure all connections are secure.
- Test the Lights: Before finalizing the installation, test the lights to ensure they function correctly.
Tips for a Flawless Setup
To achieve a professional look with your LED strip lights, consider the following tips:
- Use a dimmer switch for adjustable brightness.
- Incorporate a controller for RGB strips to change colors easily.
- Plan your layout to avoid visible wires and create a clean appearance.
Conclusion
Installing LED strip lights can transform your space, adding both functionality and style. By following the tips and steps outlined in this guide, you can achieve a perfect setup that meets your needs. For high-quality options, check out  . Embrace the versatility of LED strip lights and illuminate your world!


